Winter Decorative Knots: 6 Cozy Projects Using Thick Rope and Yarn
October 30, 2026 - Decorative Knots

October 29, 2026 - Knot Types
Knots are quiet tools. A well-chosen one holds a bundle of cord together, gives a pendant a loop, or keeps a macramé project from sliding off its ring. A badly chosen one slips, jams, or looks messy. The good news for beginners is that you do not need dozens of knots. Ten will cover most craft work, and each one answers a simple question: is this knot meant to stop an end, join two cords, make a loop, attach to something, or adjust? Learn the question first. The knot becomes easier to remember.
Two terms make every instruction easier. The working end is the short end you move around. The standing part is the longer length that stays still. When a knot is tied, dress it: snug the turns one by one so they sit neatly instead of crossing into a lump. A tidy knot is easier to check and easier to untie.
These knots suit cotton cord, jute, leather lace, and similar craft materials. Do not treat them as climbing, lifting, or load-bearing knots. For anything that must hold weight or keep a person safe, use proper instruction and inspect the setup before use.
Stoppers do one job: they keep an end from pulling through a hole, a bead, or another knot. They are also useful as a quick finish while you plan the rest of a project.
The overhand is the first knot most people learn. Cross the working end over the standing part, tuck it under, and pull both ends. Use it as a simple stopper at the end of a bracelet or to keep a cord from fraying while you work. It can jam tight under load, so keep it for light craft use and cut it off if it becomes stubborn.
The figure-eight is a bulkier stopper that is usually easier to untie than an overhand. Make a loop, pass the working end around the standing part, then back through the loop. Pull it snug. Use it at the end of a cord that passes through a large bead or a hole, or as a neat finish on a hanging ornament.
A slip knot makes an adjustable loop. Make a loop with the working end crossing over the standing part. Reach through the loop, pull the working end through to form a new loop, and snug the first loop around the standing part. Use it to start a temporary loop, gather a bundle, or create an adjustable closure on a soft bracelet. It slides easily, which is helpful until it is not; check it often on slick cord.
Joining knots are not one-size-fits-all. The right choice depends on whether the two cords are alike or different.
The square knot, also called the reef knot, joins two cords of similar thickness. Cross left over right and tuck under; then cross right over left and tuck under. Tighten slowly. When tied correctly, the two loops sit side by side and the ends leave on the same side. Use it for tying bundles, finishing a friendship bracelet, or joining two equal lengths of cotton cord. It is not a reliable load-bearing knot, and it can capsize into a slipping shape if pulled at an angle.
When one cord is thicker, stiffer, or more slippery than the other, reach for the sheet bend. Make a bight in the thicker cord. Pass the thinner cord up through the bight, around both legs, and tuck it under itself. Keep both working ends on the same side and tighten. Use it to add a length of jute to a cotton project or to attach a thin cord to a loop. Check it after handling; a sheet bend can work loose if the cords are very slick and the load changes direction.
The bowline makes a fixed loop at the end of a cord. It does not slide, and it is usually easy to untie after use. Make a small loop in the standing part. Pass the working end up through that loop, around the standing part, and back down through the loop. Tighten and leave a generous tail. Use it for a hanging loop on a craft, a loop through a ring, or a tassel attachment. The bowline is a patient knot: tie it slowly and check that the working end finishes inside the loop, not outside it.
Attaching a cord to a ring or frame is common in knot crafts. These three knots cover most beginning needs.
The lark’s head, also called a cow hitch, attaches the middle of a cord to a ring or rod. Fold the cord in half, push the bight through the ring, pass the two ends through the bight, and pull. Use it to start a macramé hanging or to attach an ornament to a small ring. It is quick, neat, and easy to undo.
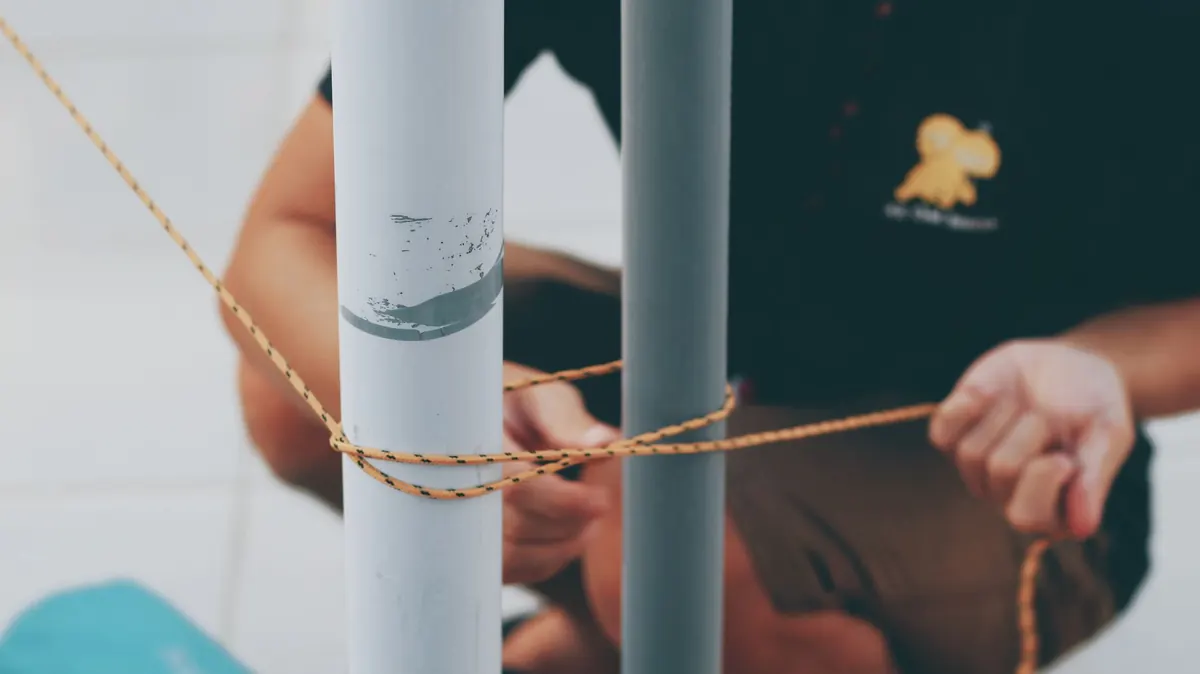
The clove hitch is a fast way to attach a cord to a post or rail. Wrap around the post, cross over the standing part, wrap again, and tuck the working end under the crossing. Pull both ends to snug it. Use it to begin a wrap on a frame or to secure a cord temporarily. It can slip if pulled at an angle, so it is better for light craft setups than for a line that will be pulled hard from one side.
Two half hitches secure an end to a ring or post after you have wrapped the cord around it. Pass the working end around the object and tie a half hitch around the standing part. Repeat once more, snugging both hitches together. Use it to finish a lashing, hang a light craft, or secure a cord that will stay under gentle tension. It is simple to inspect: two neat turns, both sitting flat.
The taut-line hitch is an adjustable friction knot. Make a loop around the standing part, wrap the working end twice around the standing part inside the loop, then once around the outside, and tuck the end under that last wrap. Slide the knot to adjust tension. Use it for an adjustable bracelet closure, a hanging display, or a cord that needs to be snugged and loosened without retying. Test it on your cord first; some slick materials need an extra wrap.
Begin with three knots: overhand, square knot, and bowline. Tie each five times in a row, then stop and look at the shape. Next week, add clove hitch and taut-line hitch. Keep a one-metre length of cord near your workspace so you can practice without hunting for materials.
Choose by job, not by memory. Tie slowly, dress the turns, and check your tail before you move on. The right knot should look calm and do its work without fuss.
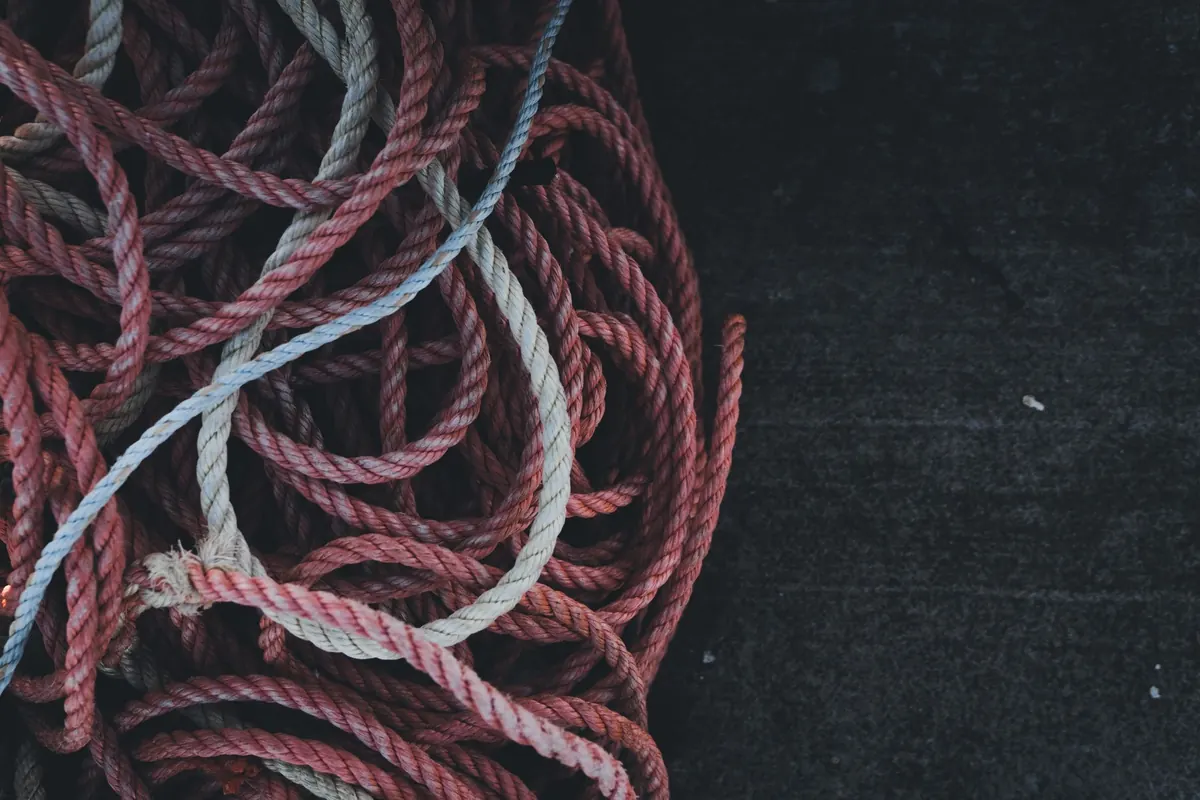
Photo: Bich Tran / Pexels
Six winter knot projects in thick rope and chunky yarn — wreath, doorstop, garland, trivet, basket and ornaments —...
A guide to traditional Italian maritime knots — bowline, clove hitch, constrictor — and how their forms translate...
Copyright © 2026 Nodi Lontano. All Right Reserved.