Winter Decorative Knots: 6 Cozy Projects Using Thick Rope and Yarn
October 30, 2026 - Decorative Knots

October 29, 2026 - Knot Types
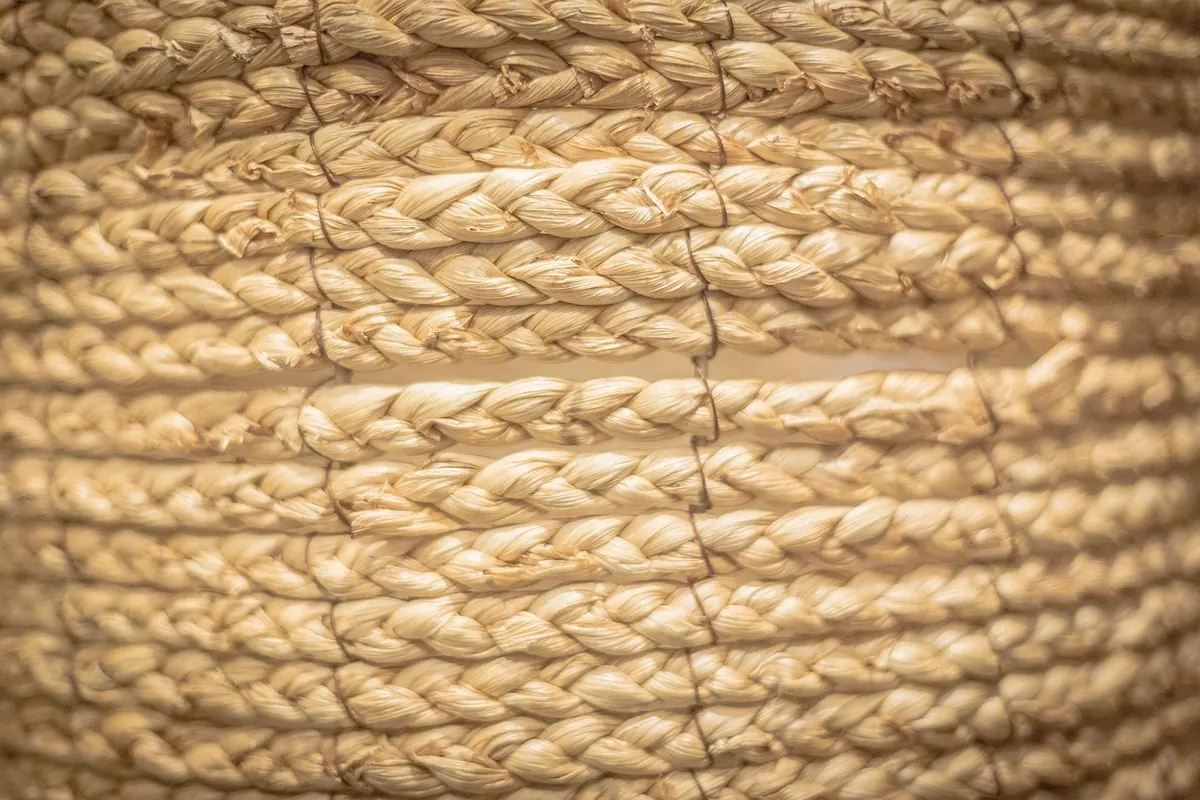
A rope basket looks more complicated than it is. There is no pattern to trace and no machine to thread; you need rope, thread, a needle, and a pair of hands willing to work for an evening or two. The craft comes down to three moves: coil the rope tightly, stitch each coil to its neighbour, and persuade the growing spiral into the shape you want. Everything else is detail, and most of it you will learn in the first fifteen minutes.
Beginners often buy too much before the first stitch. The honest shopping list is short.
No loom, no frame, no special clamp. A thimble is nice if you are stitching dense jute, and a pair of pliers helps drag a stubborn needle through a tight spot, but you can finish a basket without either.
Seal the rope end before you begin. A wrap of masking tape, or a few tight turns of thread whipped around the tip, stops the braid from unravelling while you work. Nothing spoils a first basket faster than a frayed end that keeps shedding fibres into the stitches.
Make a small flat coil in your hand — roughly three or four turns, each pressed against the last — and hold it together with a clip. Anchor the very tip by stitching it down to the neighbouring coil with four or five small stitches. That anchor is the centre of your base, so make it neat and tight.
From there, work with the coil flat on a table rather than in your lap. Gravity keeps the base level and your stitches even. Press the rope down with your palm every few stitches; if the spiral starts to dome, you are stacking coils on top of each other instead of laying them side by side.
Almost every beginner basket is held together with a whip stitch. It is simple, quick to learn, and strong.
Work from the same side of the basket every time. Turning the piece over mid-row seems harmless, but it twists the tension and leaves a visible wobble in the finished wall.
Aim for stitches roughly 8–10 mm apart on 5 mm rope. Consistency matters more than force. Pulling every stitch as hard as you can flattens the rope, distorts the spiral and makes your hands ache; leaving them loose gives a basket that sags the moment you put apples in it. Settle into a rhythm where the thread lies flat against the rope and the coils touch without being crushed.
If the finished row shows daylight between the coils, you are not pushing the new rope firmly against the old one. Slide it tight before each stitch, not after.
Run the old tail back under five or six stitches on the inside of the basket, then start the new thread in the same way, working it under existing stitches before you take your first visible whip stitch. That hides the join without a knot. If you must knot, keep it small and tuck it into the groove between two coils where it cannot rub against a shelf.
Build the base first, as a flat disc, and keep it flat until it is the diameter you want. Then change the way you place the rope. Instead of laying the next coil beside the previous one, set it on top. Hold it against the outer edge of the base and stitch through both, and the wall begins to rise.
The first two rows of the wall will want to lean outward, and that is fine — a slightly flared basket is more useful than a straight-sided one. To bring the sides upward, place each new coil a little closer to the centre line of the wall. For a tapered basket, place it further inside. To widen, place it slightly outside. Small adjustments over several rows read as a smooth curve; big corrections in one row read as a dent.
Slip your mould bowl inside the basket as the walls grow. Every time you complete a row, press the rope against the bowl and let it set the curve. Keep the bowl in place while you stitch the next row. Cotton rope has enough memory to hold a shape it has been pressed into, and this trick makes the difference between a bowl that looks deliberate and one that looks accidental.
Leave handles until the walls are as tall as you want them. The simplest version: stitch the basket up to where the handle begins, then lay three or four lengths of rope together, arc them over, and whip stitch them firmly to the rim on both sides. A bundle of three gives a comfortable grip; a single strand of 5 mm rope will dig into your fingers.
Finish the top edge with a wrapping stitch. Instead of stitching through to the row below, wrap the thread continuously around the final coil for a few centimetres, packing the turns tight so they cover the rope completely. This covers the last, often untidiest, row and gives the basket a firm rim that will not slump when lifted full.
Tuck the final rope end under the last few rows and stitch it down. Trim any stray fibres with sharp scissors rather than pulling them; pulling loosens the braid. Press the base flat under a heavy book overnight if it dried slightly cupped. A thin felt pad glued underneath protects furniture and stops a rough base from scratching a table.
To clean a cotton rope basket, wipe it with a barely damp cloth and let it air dry away from direct heat. Soaking is best avoided: cotton takes a long time to dry and a damp basket can develop a musty smell. Jute dislikes water even more, so spot clean only.
Start with a shallow bowl rather than a laundry hamper. Three to four metres of 5 mm rope will give you a base about the width of a saucer, and another ten metres or so will build walls a few rows high. That is an evening's work, and it teaches you the three skills that matter: an even spiral, steady stitches, and a clean turn from base to wall. Everything larger is the same process repeated.
Expect the first one to be imperfect. Most beginners make the base too loose and the first two wall rows too steep. Both are fixable by unstitching a row — the rope will forgive you many times over. Keep the first basket for your own desk, put the second one somewhere visible, and by the third you will have stopped counting rows and started designing shapes.
Photo: tookapic / Pixabay

Six winter knot projects in thick rope and chunky yarn — wreath, doorstop, garland, trivet, basket and ornaments —...
A guide to traditional Italian maritime knots — bowline, clove hitch, constrictor — and how their forms translate...
Copyright © 2026 Nodi Lontano. All Right Reserved.