Winter Decorative Knots: 6 Cozy Projects Using Thick Rope and Yarn
October 30, 2026 - Decorative Knots

October 29, 2026 - Knot Types

The monkey's fist has a reputation. It looks like a small ball of rope wearing a woven jacket, and people who have never tied one usually assume there is a trick. There isn't, exactly. There are three loops, each laid at right angles to the last, and then a stretch of patience while you work the slack out of them. In its working life the knot was a weight on the end of a heaving line, thrown from ship to shore. At keychain scale, with a marble or a wooden bead inside and a key ring through the top, it becomes something else: a compact, satisfying object that fits in your palm, wears well in a pocket, and looks far more complicated than it is.
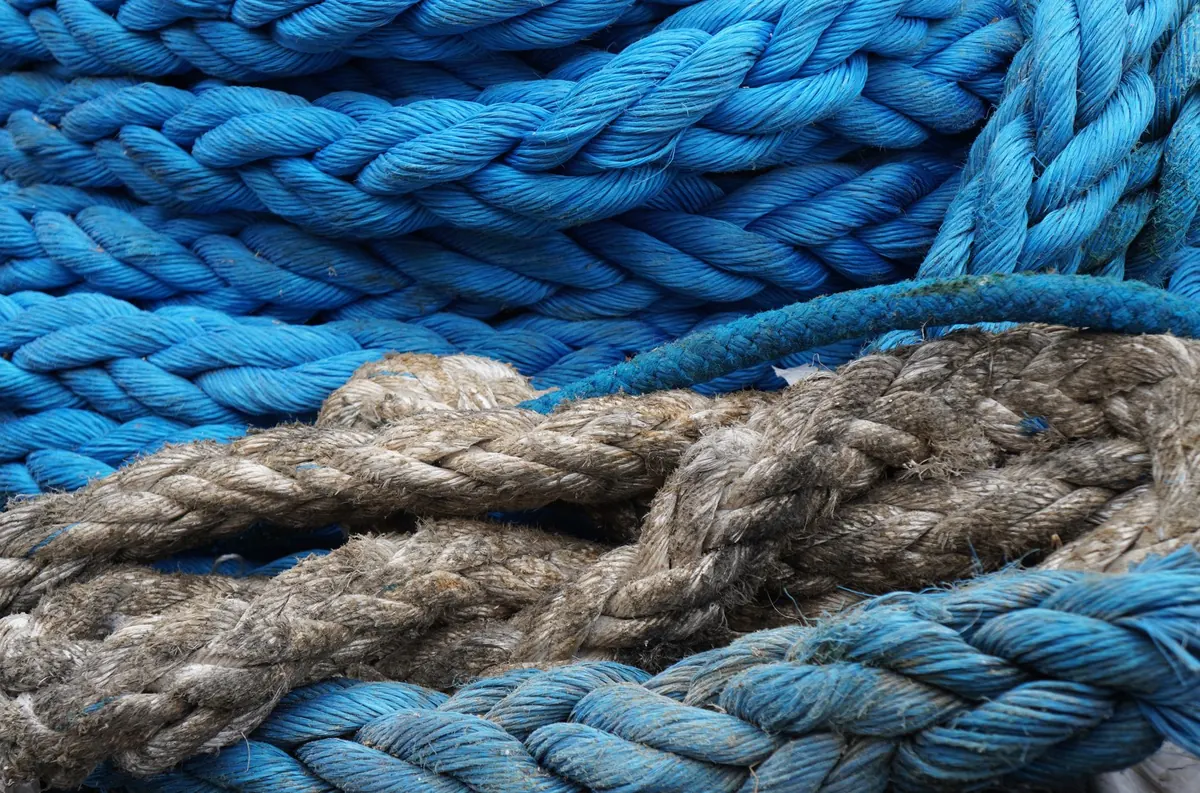
You can tie a monkey's fist in almost anything, but the cord decides whether the process is pleasant or maddening. Aim for a braided cord of 4–6 mm: polyester or nylon braid, or cotton if you want a matte, slightly rustic finish. Braided cord holds the pattern while you tighten; three-strand twisted rope gives a lovely traditional look but twists back on itself and makes neat loops harder to lay. Paracord is popular for these, and it works, though its slick surface means the loops will try to slide apart before you have the knot set.
A core is not strictly required, but it is what gives the finished piece its shape. Without one, a monkey's fist collapses into a soft, uneven lump. A glass marble, a wooden bead, a cork, a small steel ball, even a knotted scrap of the same cord will do. Choose a core slightly smaller than the hollow the loops form. Too big and the knot bulges around it; too small and the sphere feels floppy.
For size, plan roughly this: about a metre of 5–6 mm cord makes a fist around 3 cm across, which is a good keychain scale. You will have some waste, and that is better than running short halfway through the third loop.
You can wrap around two extended fingers or around a short cylinder — a piece of dowel, a cardboard tube, a bundle of pencils. A cylinder is easier to slide off afterwards; fingers are quicker and always available.
The most common mistake at this stage is wrapping the second set over the first rather than beside it. If your knot looks like a tangle instead of a cross, undo it and start again. The second attempt always goes faster than the first.
With the bundle off your fingers, ease the loops apart at the centre until you can see a hollow roughly the size of your core. Push the marble or bead into that hollow and let the strands close over it.
Now hold the knot up. You should see three bands crossing each other, forming a grid pattern of squares and diamonds around the sphere. If one band is buried under the others, work it back into place with your fingers before tightening — once the knot is tight, the pattern is fixed. This is your last easy chance to correct it.
Tightening takes about as long as the tying, and rushing it is how good knots become lopsided ones. Never pull hard on a single end. Instead, work your way around the knot, taking up a little slack from each turn in sequence, going round three or four times over.
A small tool helps enormously. The back of a pen, a blunt needle, or a proper marlinspike lets you lift an outer turn and feed the slack inward toward the working end, where it can be pulled out. Do this at several points around the sphere rather than in one place.
As the knot closes, the cord will compress and the sphere will firm up. Stop when the knot feels dense and round, like a wooden ball wrapped in rope. Pulling beyond that point distorts the shape and stretches the cord. Expect a little springiness; you want firm, not rigid.
Halfway through tightening, pause and look at the band crossings. The over-and-under sequence should alternate neatly, like a basket weave. If a strand has jumped out of sequence, loosen that section slightly, reseat it, and continue. Small corrections made early disappear into the finished piece. Corrections attempted at the end do not.
Two ends exit the knot, and what you do with them determines whether the piece looks handmade or homemade. Whichever route you take, keep more tail than you think you need — 15 cm on each end is sensible.
For keychains, a 25 mm split ring is about right; for ornaments, a small loop of cord or a wire hanger works better than metal hardware. If the piece is going to live in a pocket, a dab of glue on the buried ends is worth considering — but let the knot sit overnight first so it settles into its final shape.
Your first fist will probably be a bit lumpy, and you will notice every flaw in it. Keep it anyway. Tie the second one immediately, while your fingers still remember the sequence, and you will find the loops go down more evenly and the tightening takes half as long. Use cheap cord for practice and save the good braid for the pieces you intend to give away. If a knot fights you, do not force it — loosen the whole thing, shake it out, and start fresh. A monkey's fist rewards a light hand and a slow, circular pull, and the small ball of rope you end up with is the proof that a plain piece of cord can be turned into something worth keeping.
Photo: christels / Pixabay
Six winter knot projects in thick rope and chunky yarn — wreath, doorstop, garland, trivet, basket and ornaments —...
A guide to traditional Italian maritime knots — bowline, clove hitch, constrictor — and how their forms translate...
Copyright © 2026 Nodi Lontano. All Right Reserved.