Winter Decorative Knots: 6 Cozy Projects Using Thick Rope and Yarn
October 30, 2026 - Decorative Knots


October 29, 2026 - Knot Types
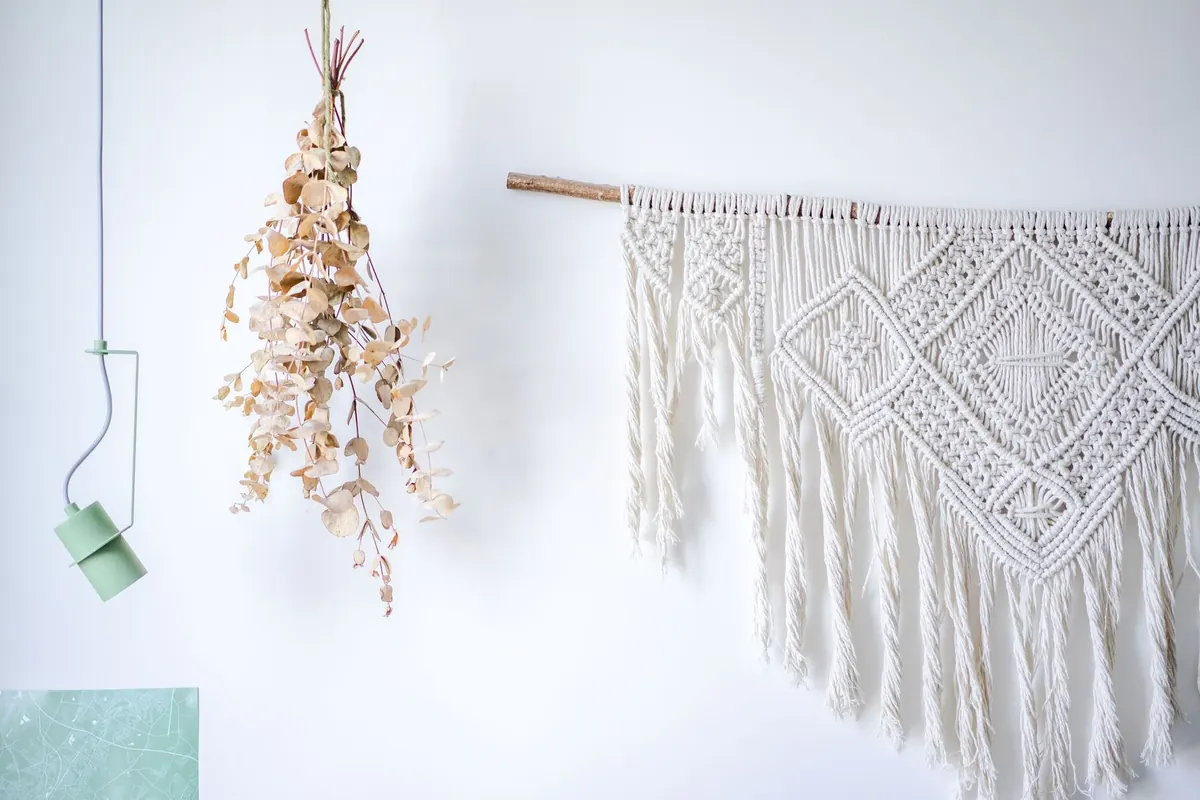
You finish the last row, hold the piece up at arm's length, and something is off. The left edge hangs lower than the right. The middle sags. Rows that looked straight on the table curve into a smile once the hanging is on the wall.
Uneven macrame rarely comes from clumsy hands. It usually comes from a few small decisions made before the first knot and halfway through the tenth row — how much cord you cut, how hard you pull, how closely you watch your spacing, and what you hang the whole thing from. None of these are difficult to correct. Most of them cost nothing but a few extra minutes. The fix is usually less about learning a new knot and more about noticing the small habits that repeat every time you sit down to work.
Every knot eats cord. A square-knot sinnet pulls in more than beginners expect, and the working cords — the two outer ones — always run out first, long before the filler cords down the middle. Cut everything to the same length and you'll finish with two lonely short ends while the rest of the bundle trails past your knees.
A workable rule of thumb for square knots: working cords about four times the length of the knotted section, filler cords about one and a half times the finished drop. Open, lacy patterns use less; dense, tightly packed ones use more. Add roughly fifteen percent on top for take-up, then add your fringe allowance — twice the finished fringe length, plus a couple of inches for trimming later.
Think about how much this matters on a real piece. A 30-inch wall hanging made from tight square knots can consume far more cord than the same drop in a loose, open diamond pattern. If you cut for the open pattern and then decide to add a dense band halfway down, you'll be splicing in new lengths before the piece is finished. Splicing can work, but a join in the middle of a visible row is hard to hide and even harder to keep symmetrical.
Cut in one session, from the same roll, after the design is settled. Cutting as you go is how a piece ends up with three different fringes and a lopsided bottom edge.
In a square knot, the two middle cords do the quiet work. They carry the vertical line of the piece and need to stay straight — held just taut enough to keep the row from collapsing, not pulled so tight that the knot's little window closes. The outer cords get pulled to tighten, and this is where asymmetry sneaks in: most of us pull harder with one hand than the other. Do that forty times in a row and the whole sinnet leans.
Watch for the second version of the same mistake: tightening the first knot of a row carefully and the last one in a hurry, or starting loose and over-correcting halfway down. Either way, the row bows. A row that starts with crisp, even knots and ends with soft, loose ones will pull the whole panel to one side, even if every individual knot looks acceptable up close.
Tension is easier to keep steady than to correct. If you feel yourself rushing, stop at the end of a row, not in the middle of one.
Keep the filler cords pinned. If you work on a board, tape the tails down so vertical tension stays consistent. Every few rows, lay a ruler across the piece and sight along the edge. If a row has drifted, undo it now — fixing it later means unpicking much more.
Mounting knots deserve the same care. Lark's head knots pulled tight, then loose, then tight leave a top edge like a wave. Tie them evenly, then push them gently into line along the dowel before starting the first row.
Cotton stretches. Hemp and jute barely move. Synthetic cord has almost no give and will hold exactly the shape you gave it — including any leaning row. With cotton, the finished hanging lengthens under its own weight over the first day or two, and it lengthens unevenly if the knots themselves are uneven.
This is why a piece can look perfect on the table and slightly wrong by the next morning. One side may have been knotted a touch tighter, so the other side drops farther once gravity takes over. A cotton panel might grow half an inch or more in the first 48 hours, and that half inch is rarely distributed perfectly evenly.
Two habits help. Pre-stretch the cord: hang the cut bundle with a light weight at the bottom overnight, or mist it and let it dry straight. Then block the finished piece before judging it. Lay it on a foam board, mist lightly, pin the edges square, and let it dry flat.
And stop measuring while the piece is lying on the table. A hanging that looks perfectly level flat can hang crooked on the wall, because gravity rearranges everything. Judge the piece where it will live.
Rows creep. Nobody notices a single row sitting two millimetres high, but twenty of them add up to a visible tilt, and by the bottom the pattern has shifted to one side.
Make a spacer. Cut a scrap of card or a short piece of dowel to the exact gap you want between rows and slide it under each new row as you tighten. It's a simple trick, but it removes the guesswork from every row that follows. A spacer is especially useful on patterns with alternating square knots, where it is easy to let one row settle closer to the row above than the one below.
Count out loud, or tick each row off on the printed pattern. Miscounts often show up as a diamond that closes early on one side or a band of knots that is one row shorter than its neighbor. If you are working from a chart, mark the center line with a contrasting piece of thread so you can check symmetry without re-measuring every few minutes.
You can knot a perfectly even panel and still end up with a hanging that looks crooked because the thing it hangs from is not straight. A dowel with a slight bow will lift one side of the piece and drop the other, and a single nail or hook lets the whole hanging pivot until it settles wherever gravity prefers.
Check the dowel before you begin. Sight along its length as if you were checking a pool cue. If it is bowed, rotate it so the curve faces the wall, or choose a straighter piece. When you hang the finished piece, use two anchors rather than one. Measure from the top corners, mark the wall with a level, and tie the hanging cord so the piece sits evenly between the two points. A wall hanging that is attached at one central point will always be a little at the mercy of its own weight.
Two skeins labeled the same size are not always identical. Natural fibers vary, dye lots shift slightly, and even synthetic cord can differ enough from batch to batch to change how a row sits. If you use one thickness for the top half and a slightly thicker cord for the bottom, the lower rows will look heavier and may pull the pattern wider. The knots can be perfect and the piece will still look off.
The same applies to adding new cords. If you join fresh lengths at different heights on each side, one side gains extra bulk and weight while the other does not. Add cords in pairs, at matching heights, and keep the joins at the back of the work whenever possible. If you must switch batches, do it at a natural break in the pattern — the top of a new section, not the middle of a visible row — and check the thickness against your original cord before you commit.
Fringe is the last thing most makers trim, and it is also the easiest place to hide an uneven bottom edge — or accidentally create one. Cut the fringe while the piece is still flat on the table and you are trimming to a surface, not to gravity. Once the hanging is on the wall and the knots above it settle, that carefully measured line can tilt.
Hang the piece for at least a day before the final trim. Comb the fringe straight, mist it lightly if the fiber allows, and let it hang. Then trim in small passes, from the center outward, using a wide ruler or a level as a guide. Cut less than you think you need. It is much easier to take off another quarter inch than to explain why one side of the fringe is suddenly shorter.
Not every uneven hanging needs to be taken apart. If the drift is small and the pattern allows it, you can sometimes block the piece back into shape, adjust the hanging cord, or trim the fringe to a new level after the piece has settled. If one section is visibly tighter than the rest, however, unpicking is usually faster than trying to disguise it.
Work from the bottom up when you undo rows. Keep the removed cord in order so you can reuse it, and fix the tension problem before you re-knot the section. A few minutes of unpicking now will save you from a finished piece that never quite hangs straight — and from repeating the same mistake on the next wall hanging.
Photo: Atlantic Ambience / Pexels

Six winter knot projects in thick rope and chunky yarn — wreath, doorstop, garland, trivet, basket and ornaments —...
A guide to traditional Italian maritime knots — bowline, clove hitch, constrictor — and how their forms translate...
Copyright © 2026 Nodi Lontano. All Right Reserved.